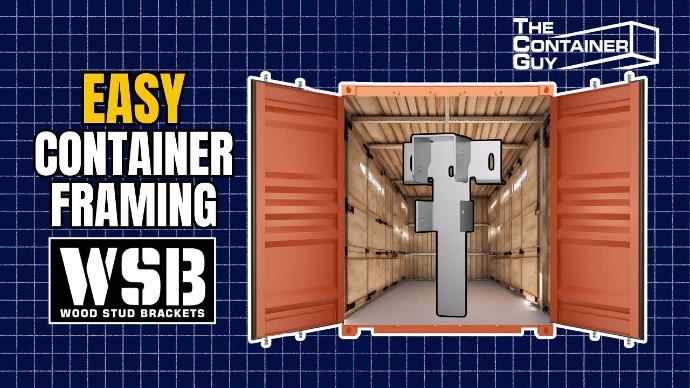
Wood Framing Method for Shipping Containers
Wood Framing For Dummies | Installing Wood Stud Brackets in a Shipping Container
In this video, we'll guide you through framing the interior of a 20ft shipping container using wood 2x4s. Stay tuned; we're here to help you learn something new.
The laser-cut folded design of these brackets is highly functional, with every feature serving a purpose. Join us as we install wood studs across the ceiling, demonstrating how these brackets simplify the process and do the thinking for you. Installation is a breeze, with the brackets aligning perfectly with marked points and self-tapping screws securing them to the container's top tubing.
But that's not all; these brackets offer more than meets the eye. They define your wall & ceiling planes and provide room for insulation, ensuring a continuous vapor barrier when you use spray foam.
Now, let's talk wall finishing options. Depending on your project's purpose, you have several choices, from using 2x4s for shelves to sleek 1 5/8 inch steel studs for maximizing interior width. Composite lumber is an excellent option for humid environments, preserving the wood's integrity while maintaining a robust structure.
If you're a DIY enthusiast looking to frame a shipping container, these Wood Stud Brackets will save you a tremendous amount of time compared to traditional methods. They are ideal for non-human occupied spaces. For container homes, we recommend steel studs. However, if you opt for wood and spray foam, these brackets will ensure the wood stays away from the walls, allowing for a smooth finish.
🔧 What you'll learn:
- Introduction to our new Wood Stud Brackets (WSB).
- Step-by-step guide to installing brackets inside a 20' shipping container.
- Tips and tricks for securing wood studs perfectly every time.
- Insulation suggestions

